In this Article...
In the previous tutorial, you have placed walls in the Revit model. Now, we will place doors and windows to our Revit model. You will be introduced to instance parameters, so you can have your own family type.
Doors and windows are Revit hosted components. It means you can only place them hosted to other components: wall. No walls, then no doors, no windows.
Placing your doors
Understanding Door Placement
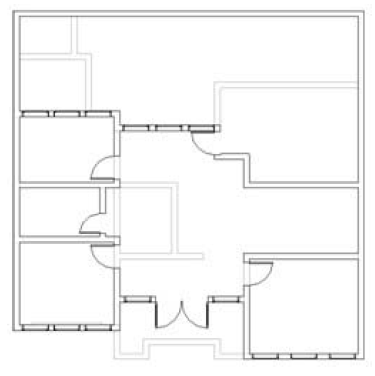
Let’s continue our Revit model. Open your 1st-floor plan. We will place them at the location shown below.
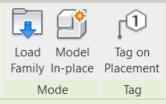
Activate door tool from the ribbon bar, home TAB. Select M_Single-Flush:0864×2134 as family type from type selector. Click the change element type to choose other family types.
Deactivate tag on placement from the ribbon panel. We don’t want the doors automatically tagged. We will place them later.
Move your mouse pointer around, away from walls. You will see your mouse pointer like this ![]() when it does not find any walls, it can’t find it’s the host. Now move your pointer to the location shown before.
when it does not find any walls, it can’t find it’s the host. Now move your pointer to the location shown before.
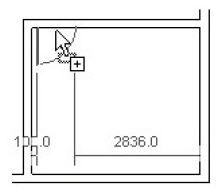
Now you can place your door. If the placement orientation does not match the image above, press [space] to flip the door. Click your mouse to place it.
Now place all the remaining doors. Choose the appropriate size if necessary. Very easy, right? I don’t think you’ll find difficulties in placing them :)
Creating New Door Type
Now activate modify, pick one of the doors. You will see a temporary dimension to modify the placement. And also, flip symbol to modify the orientation.
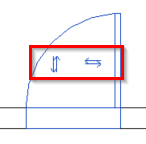
Try to click that flip symbol to flip the door. Similar to placing walls, sometimes it’s easier to place your door first, and modify the placement later.
Now select one door, any door that you want to change its size.
From the contextual ribbon, select element properties>type properties.

Click duplicate on the dialog box that opened. Type ‘700×2100 mm’ when Revit asks for the type name. Click OK.
You just created a new type. Now, you have to change the dimension properties. Change the door height to 2100 and width to 700 in the dimensions section.

Click OK to close the dialog box. See that the size of your door has changed. You also can see in the contextual tab, it’s using your new door type.
Now we will load another door family. Activate the door tool. From the contextual tab, model section, click load family.

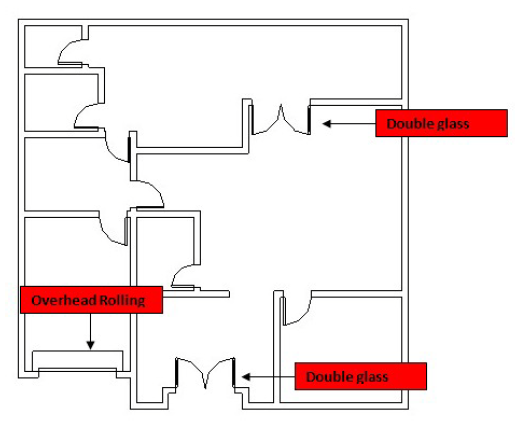
In the opened dialog box, choose M_Double-Glass 1.rfa and M_Overhead-Rolling.rfa. You can pick multiple files by holding [crtl] and pick the file.
Place them at these locations.
Now, open your 2nd floor plan and place all these doors.
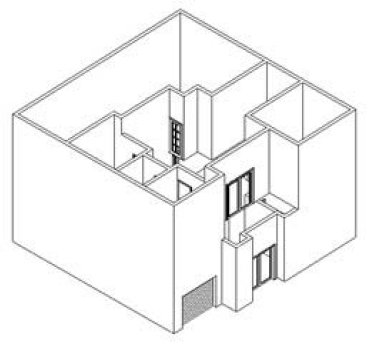
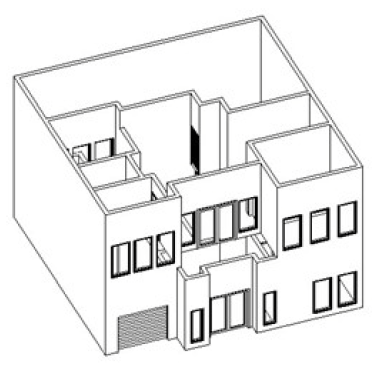
Let’s review our doors in our model. Open your 3D view by clicking the 3D View button.
Placing Windows
There is no difference between placing doors and windows. We will complete our model by placing these two types of window: M_Fixed: 0610×1830 mm and M_Fixed: 0915x1830mm. Feel free to use any other types of windows.
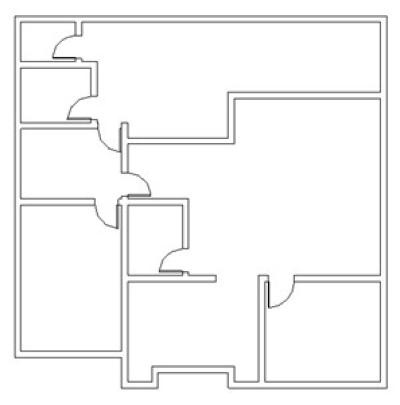
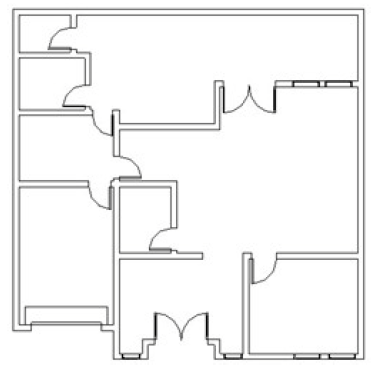
Here is my 1st floor windows.
And here is my 2nd-floor windows.
Let’s check our 3D model now.
In the next exercise, we will explore more about wall properties.
*You can purchase this tutorial compilation in an e-book. Find out the books in our E-Store .


